ReverseEngineering
Reverse Engineering: Getting rid of “XtraFinder Beta has expired!” nag alert
by admin on Dec.14, 2014, under MAC OS X, ReverseEngineering
If you ever were forced to update (or stop using) XtraFinder due to said error message (Xtra Finder Beta has expired) rest assured – I got an easy solution for you that comes with this tiny reverse engineering tutorial.
Target version: XtraFinder v0.25
Used tools: Hopper Disassembler v3.5.9
First off, load the target file into Hopper. The file is located at /Library/ScriptingAdditions/XtraFinder.osax/Contents/MacOS/XtraFinder
After loading it, the first thing you’d like to do is to search e.g. the title of the error message.
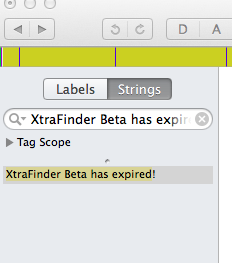 |
The search will return one result, click on it and it will bring you to the location in the file it is stored in.
 |
Hit X on your keyboard and Hopper will show you the cross references to this specific text. Since there’s only one result you can double click on it and it will bring you there.
Make sure to click on XREF so it gets highlighted:
 |
Repeat the same step again (press X to find cross references).
 |
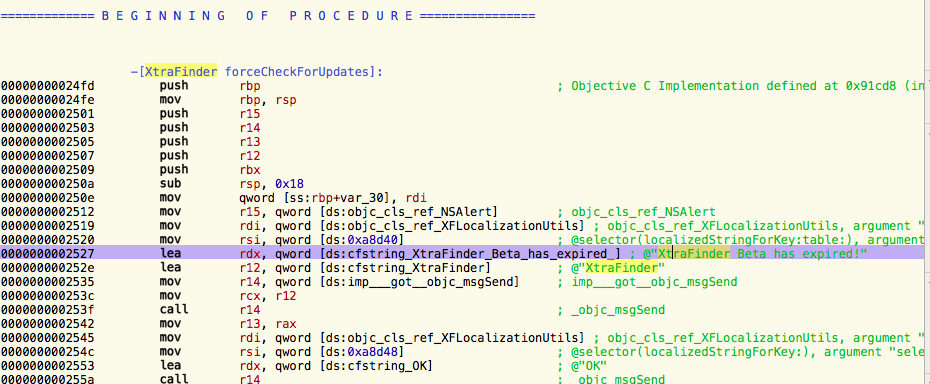
So yeah we basically reach the code that is using the string we no longer want to see. Taking a look at the code indicates there’s a method called forceCheckForUpdates:
 |
Mark the very first line in this procedure:
 |
and try to search for XREF‘s to this offset:
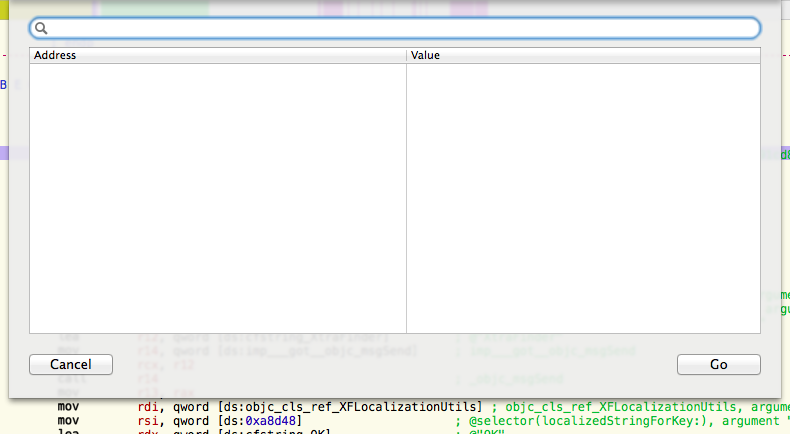 |
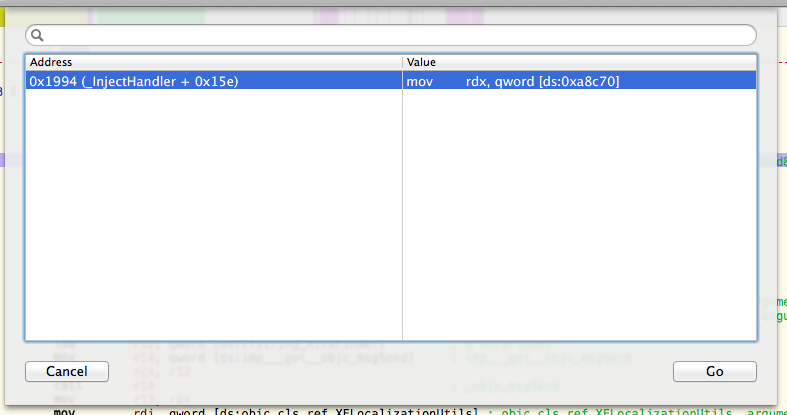
Dang! No results. However, since this is a function (and functions usually get called), we can repeat the search for places referencing this Objective-C method (SHIFT + ALT + X).
 |
 |
So we basically just found the check determining whether or not to show the nag screen. JNE is an assembly instruction meaning JUMP IF NOT EQUAL. So if the comparison before that JNE turns out to be not equal, it won’t show the nag screen. We won’t even bother much analyzing the code behind, since we may simply patch the JNE with JMP (always jump). You can find an option to do so in the main menu >> Scripts >> JE > JMP :
 |
Save your changes via File -> Produce New Executable and replace the old binary file with your modified one. Reboot your Mac and you’ll see the application works without forcing you to update. 😀
Update: November 19, 2016:
As stated by various users through the comments and emails, recent versions of XtraFinder will crash now if not signed properly. When saving the executable in Hopper Disassembler do choose not to remove the code signature when saving the file:
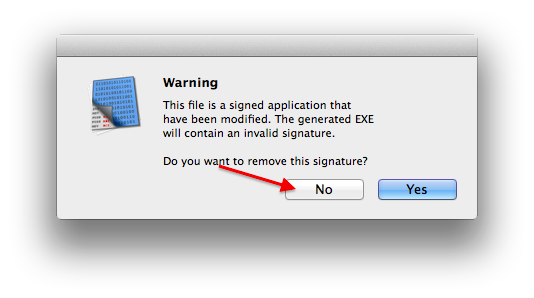 |
Otherwise it will compute the executable’s __LINKEDIT segment size incorrectly and “codesign” will refuse to sign the file later.
Instead, use a proper macho editor such as this one. If you’re feeling lazy and don’t want to compile it on your own, you may fetch the precompiled binary here: macho_edit.zip
Use it like this with the patched binary you created with Hopper Disassembler earlier:
./macho_edit XtraFinder
Type “2” in order to “Load command edit” and then “5” in order to “Remove code signature”. Afterwards type “6” to “Cancel” and “3” to “Exit”. Voila – the code signature was properly removed.
Now you’ll have to resign it using a valid code signing certificate. You can create one on your own using OpenSSL or you might as well simply use this fake code signing certificate valid for 10 years (double click on the file in order to import it into your keychain, the password is 1234): betamaster_codesigning.zip
After creating/importing the certificate, sign your modified binary like this:
sudo codesign -s "BetaMaster" XtraFinder
After rebooting, your patched XtraFinder will start up. Alternatively you may also restart Finder (CMD + ALT + ESC).
If you weren’t able to follow the steps above, you may also want to download the patched binary here (you might have to import the certificate above first, since macOS otherwise won’t know the certificate the application was signed with): xtrafinder_0_25_9_patched.zip. You’re welcome. 😉


